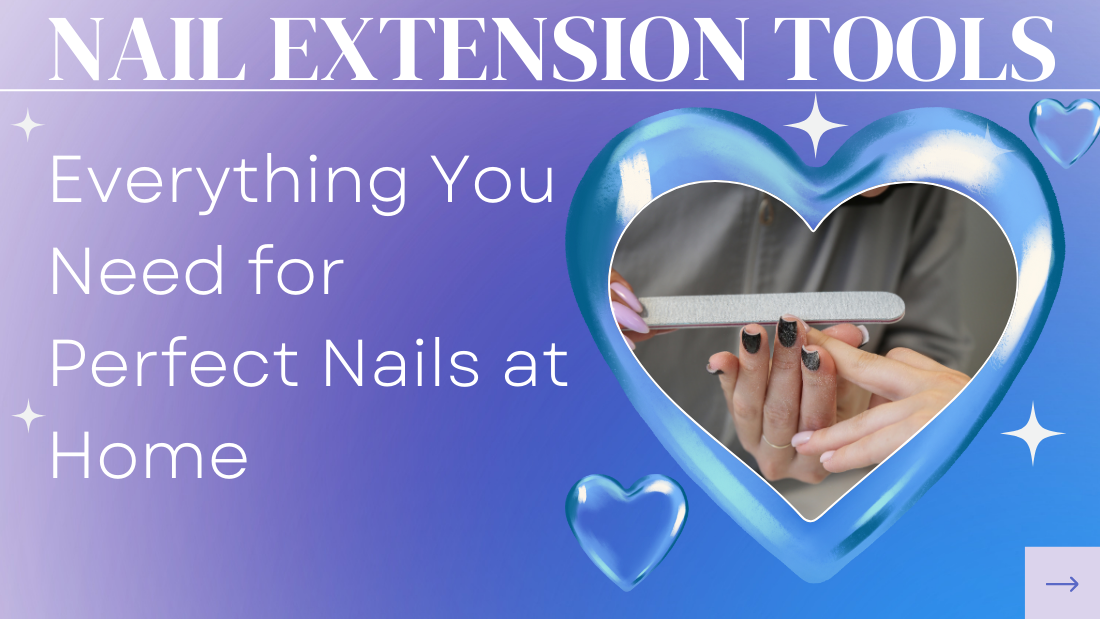
Who doesn't love beautifully manicured nails? Whether you're heading to a special event or simply want your hands to look their best, nail extensions can be a game-changer. And guess what? You don’t always have to head to a salon for those perfect nails. With the right nail extension tools, you can achieve stunning results right at home!
In this blog, we'll dive into the essentials of nail extension tools, how to use them, and why they're the ultimate solution for DIY nail enthusiasts. Get ready to unleash your inner nail artist!
Why Choose DIY Nail Extensions?
DIY nail extensions aren’t just budget-friendly; they’re also super convenient. Here’s why they’re worth it:
- Cost-Effective: Salon visits can add up. Investing in nail extension tools pays for itself over time.
- Customizable: Want to experiment with shapes, lengths, or designs? At home, the choice is entirely yours.
- Convenience: No need to book appointments or rush to the salon—your nail station is just a step away!
Must-Have Nail Extension Tools
Let’s break down the essential tools you’ll need for flawless nail extensions.
1. Nail Tips and Forms
These are the foundation of nail extensions. Nail tips are pre-shaped pieces glued onto your natural nails, while forms are used to create custom extensions.


- Nail tips come in a variety of shapes, like square, almond, and coffin.
- Nail forms are perfect for those who want a seamless and natural look.
2. Nail Glue
Strong, reliable nail glue is non-negotiable for securing nail tips. Look for quick-drying, long-lasting formulas.
3. Nail File and Buffer
A quality nail file helps shape the extensions, while a buffer smoothens the surface for an even finish.
- Choose files with varying grits: coarse for shaping and fine for smoothing.
- Buffers ensure that the polish or gel adheres perfectly.
4. UV/LED Lamp
If you’re using gel nail extensions, a UV or LED lamp is a must. It cures the gel, ensuring it sets firmly.
- Look for lamps with adjustable timers and high wattage for efficient curing.
- Portable options are perfect for at-home use.
5. Gel or Acrylic Powder
Both gel and acrylic are popular materials for nail extensions. Here’s a quick comparison:
- Gel: Flexible and natural-looking.
- Acrylic: Durable and perfect for long-lasting results.
Invest in high-quality products for a professional finish.
6. Brushes
Brushes are essential for applying gel or acrylic. They come in various sizes, so you can find the right one for precision work.
- Flat brushes work well for gel applications.
- Round brushes are ideal for acrylic sculpting.
7. Cuticle Tools
Healthy cuticles are key to great nails. Use a cuticle pusher to gently push back cuticles and nippers to remove any dead skin.
- Avoid being too aggressive to prevent injury.
- Regularly moisturizing your cuticles keeps them healthy.
8. Top Coat and Base Coat
A sturdy base coat ensures adhesion, while a glossy top coat seals and protects the extension.
- For added shine, use a high-gloss top coat.
- Choose non-yellowing formulas for clear or translucent nails.
How to Use Nail Extension Tools
Creating nail extensions might seem intimidating, but it’s easier than you think! Follow these steps for salon-quality results:
Step 1: Prep Your Nails
- Clean your nails thoroughly to remove oils and dirt.
- Gently push back cuticles and buff the nail surface for better adhesion.
Step 2: Apply Nail Tips or Forms
- Attach nail tips using glue or position forms under your natural nails.
- Ensure they’re secure before moving to the next step.
Step 3: Shape and File
- Use a nail file to shape the extensions to your desired length and style.
- Buff the surface to create a smooth canvas.
Step 4: Apply Gel or Acrylic
- For gel, use a brush to apply thin layers, curing each layer under a UV/LED lamp.
- For acrylic, dip the brush into liquid monomer, then into the acrylic powder, and apply the mixture to the nail.
Step 5: Finish with Top Coat
- Seal your masterpiece with a top coat.
- Cure under the lamp for a long-lasting, glossy finish.
Tips for Perfect Nails Every Time
- Practice Makes Perfect: Don’t get discouraged if your first attempt isn’t flawless.
- Invest in Quality: High-quality tools and materials make a significant difference.
- Be Patient: Rushing the process can lead to mistakes.
Popular Nail Extension Styles
Now that you’ve got the tools, let’s talk about styles.
Classic French Tips
Timeless and elegant, French tips are perfect for any occasion.
Coffin-Shaped Extensions
Trendy and chic, these extensions are great for showing off bold nail art.
Natural-Looking Gels
For a subtle, everyday look, go for natural gel extensions.
FAQs About Nail Extension Tools
1. Are nail extension tools expensive?
Not at all! Many starter kits are affordable and include everything you need.
2. Can I use nail extension tools on short nails?
Absolutely! Nail tips or forms work well on short nails.
3. How long do nail extensions last?
With proper care, they can last up to 3 weeks before needing a touch-up.
Conclusion
With the right nail extension tools, you can achieve salon-quality nails in the comfort of your home. Whether you’re a beginner or a pro, having these essentials on hand makes the process smooth and enjoyable.
So, what are you waiting for? Dive into the world of DIY nail extensions and flaunt your fabulous nails with pride!